Create a reusable segment when a set of products in a collection needs its own sort order. Start in Merchandising → Segments → Create segment and enter a Name. For how segments affect a collection, see Segments.
Create a Single segment
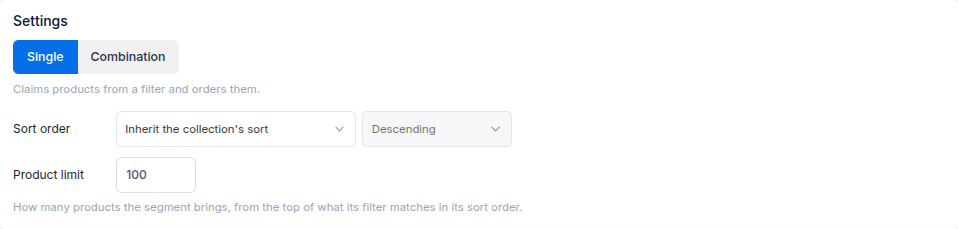
- Under Settings, choose Single.
- Choose a Sort order. Inherit the collection's sort uses that collection's fallback order; another available sort order applies specifically to this segment. Set a Product limit for how many matching products the segment brings into a collection.
- Under Targeting, choose Smart, Manual, or Upload product list. Smart uses a saved Background filter and checks its matches when the collection runs. Manual and Upload product list keep a fixed selection.
- For Smart, select a product target filter and use Preview to inspect its matches. For Manual, browse and select products. For Upload product list, import a CSV or Excel file.
- Review the Summary, then select Create.
Combine existing segments
To bring saved Single segments together, see Create a combination segment.
Add the segment to a collection
Open the collection from Merchandising → View collections. In Segments, select Add a segment, choose the saved segment, and place its row where it should run. Preview the product order, then save or select Sort now to apply it. Products not claimed by the segment follow All remaining products and the collection's fallback sort order.