Create a product group to keep related products together when you sort a collection. The group saves which products belong together, their order, and where the block should appear. For the overall behaviour, see Product groups.
Choose the group's settings
- Open Merchandising → Product groups and select Create product group.
- Enter a Name.
- Choose the Sort order within the group. Select Manual order if you want to arrange its products yourself; other available sort orders rank them for you.
- Set the Product limit. A group can hold up to 100 products; the limit controls how many it brings into each collection, starting from the top of its order.
- Choose Placement: Natural — at the first member keeps the block near its first product, while Top of the collection places the block first.
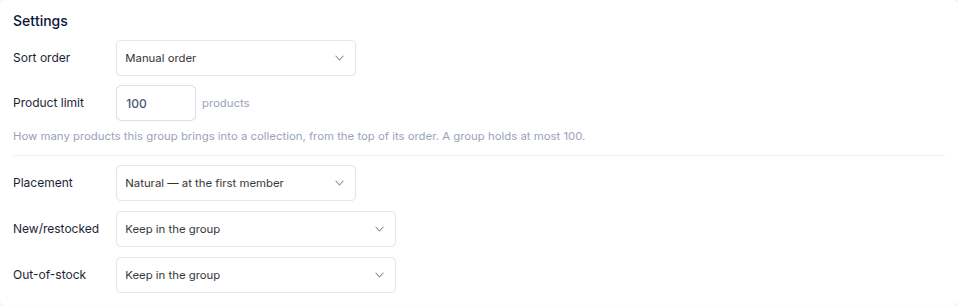
The New/restocked and Out-of-stock controls decide whether products stay in the block or follow the collection's Push Up or Push Down rules instead. Move the whole group down moves the block when a member matches an active Push Down rule. Without Push Down on the collection, that option has no effect.
Choose the products
Under Targeting, select one of these methods:
- Smart uses a saved Background filter. Select a product target filter and use Preview to check its matches. Refreshing the group can add or remove matching products.
- Manual lets you browse and select a fixed list of products. With Manual order, arrange them in the preview.
- Upload product list imports a fixed list from a CSV or Excel file.
Review the product preview and Summary, then select Create group. To use the group, open a collection from Merchandising → View collections and add it under Product groups. Only products already in that collection will form the group block; assigning the group does not add products to the collection.